Basic Photo Editing Techniques in Photoshop for Newbies
9jatechbros
- 0
- 176
If you’re new to Adobe Photoshop, you’re probably excited to start editing your photos and creating stunning images. This guide will walk you through some basic photo editing techniques that are essential for any beginner. By mastering these techniques, you’ll be able to enhance your photos and bring out their best qualities. We’ll also suggest where to add images to help illustrate these techniques.
Introduction to Basic Photo Editing
Photo editing involves making adjustments to your images to improve their appearance. This can include cropping, resizing, adjusting brightness and contrast, and correcting colors. Here are some fundamental techniques that every Photoshop beginner should know: here is a link to a youtube video to guide you https://www.youtube.com/watch?v=61mkx_OV61s
1. Cropping and Resizing
Cropping allows you to remove unwanted parts of an image, while resizing changes the dimensions of your image. These are often the first steps in the editing process.
– Cropping: Select the Crop Tool (C) from the toolbar. Drag the corners or sides of the crop box to select the area you want to keep. Press Enter to apply the crop.

– Resizing: Go to Image > Image Size. In the dialog box, you can adjust the width and height of your image. Make sure the “Constrain Proportions” box is checked to maintain the aspect ratio.
2. Adjusting Brightness and Contrast
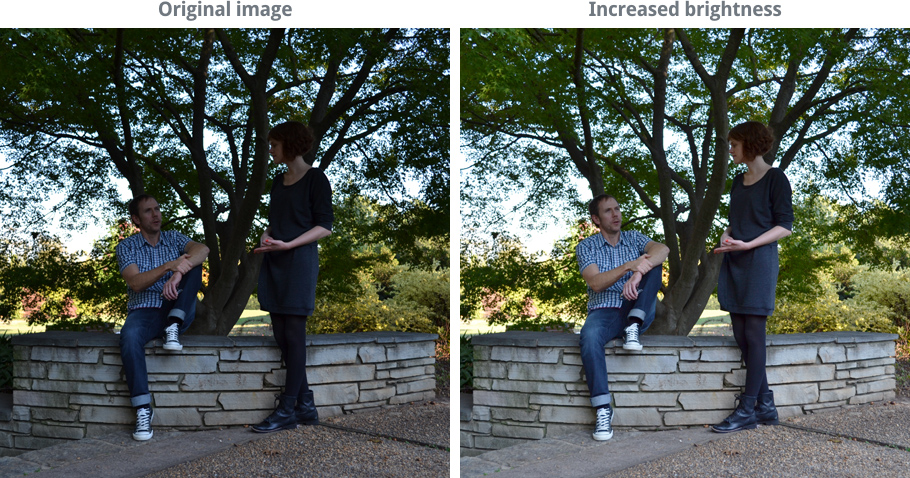
Adjusting brightness and contrast can significantly enhance your photo by making it look more vibrant and dynamic.
– Brightness/Contrast: Go to Image > Adjustments > Brightness/Contrast. Adjust the sliders until you achieve the desired effect. Increasing brightness makes the image lighter, while increasing contrast makes the dark areas darker and the light areas lighter.

3. Color Correction
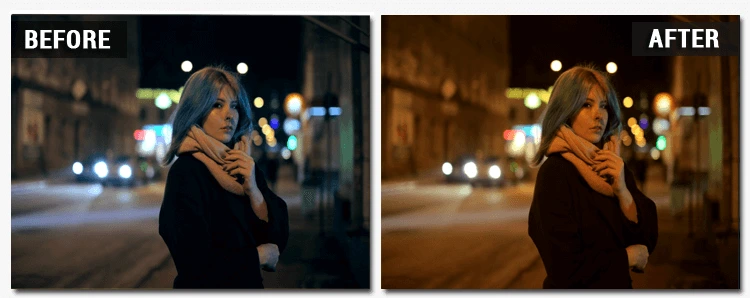
Color correction involves adjusting the colors in your photo to make them more accurate or visually appealing.
– Hue/Saturation: Go to Image > Adjustments > Hue/Saturation. Use the sliders to adjust the hue, saturation, and lightness of your image. Hue changes the overall color, saturation adjusts the intensity of the colors, and lightness affects the brightness.
– Color Balance: Go to Image > Adjustments > Color Balance. Adjust the sliders for shadows, midtones, and highlights to balance the colors in your image.

4. Using Adjustment Layers
Adjustment layers allow you to apply color and tonal adjustments non-destructively. This means you can make changes without permanently altering the original image.
– Creating an Adjustment Layer: Go to Layer > New Adjustment Layer and choose an option like Brightness/Contrast, Levels, or Curves. The adjustment layer will appear in the Layers panel, and you can adjust its settings at any time.
– Layer Masks: Use layer masks to apply adjustments to specific parts of your image. Select the adjustment layer and click on the mask icon. Paint with black on the mask to hide the adjustment and with white to reveal it.
5. Removing Blemishes and Imperfections
Photoshop offers several tools for removing blemishes and imperfections from your photos.
– Spot Healing Brush Tool (J): This tool is perfect for quickly removing small blemishes. Select the Spot Healing Brush Tool and click on the blemish to remove it.
– Clone Stamp Tool (S): For larger or more complex areas, use the Clone Stamp Tool. Hold Alt (Option on Mac) to select a source area, then paint over the area you want to correct.
6. Sharpening Your Image
Sharpening enhances the details in your photo, making it look crisper and more defined.
– Unsharp Mask: Go to Filter > Sharpen > Unsharp Mask. Adjust the Amount, Radius, and Threshold sliders to sharpen your image. Be careful not to over-sharpen, as this can create unwanted noise.
7. Using Filters
Filters can add creative effects to your photos. Experiment with different filters to see what works best for your image.
– Applying a Filter: Go to Filter > Filter Gallery. Browse through the various filters and adjust their settings to achieve the desired effect. Common filters include Gaussian Blur, which softens the image, and High Pass, which enhances edges.
Tips for Effective Photo Editing
1. Use Layers: Always work with layers to keep your edits non-destructive. Create new layers for different adjustments and effects to maintain flexibility.
2. Zoom In for Detail Work: Use the Zoom Tool (Z) to get a closer look at the areas you’re editing. This is especially useful for removing blemishes and making precise adjustments.
3. Save Your Work Regularly: Save your project frequently to avoid losing progress. Use File > Save or Ctrl+S (Cmd+S on Mac) to save your work.
4. Experiment and Learn: Don’t be afraid to try different tools and techniques. Photoshop offers a wide range of features, so explore and find what works best for your style.
Conclusion
Basic photo editing in Photoshop involves a series of simple but powerful techniques that can dramatically improve your images. By mastering cropping and resizing, adjusting brightness and contrast, correcting colors, using adjustment layers, removing blemishes, sharpening, and applying filters, you’ll be well on your way to creating stunning photos. Remember to practice regularly and experiment with different tools to develop your skills. Stay tuned to 9jaTechBros for more tutorials and tips to help you on your Photoshop journey. Happy editing!


