How to Create Interactive Prototypes in Figma
9jatechbros
- 1
- 85
How to Create Interactive Prototypes in Figma
Creating interactive prototypes is an essential part of the design process, enabling designers to visualize and test user interactions before moving on to development. Figma, with its robust prototyping features, allows you to create dynamic and interactive prototypes with ease. In this guide, we’ll walk through the steps to create interactive prototypes in Figma.
Getting Started
Before diving into the prototyping features, ensure you have your design ready. If you don’t have a design yet, you can start with a simple layout like a login screen, a homepage, or any interface you want to prototype.
1. Open Your Figma File: Start by opening your Figma project or create a new one. Make sure you have multiple frames that represent different screens or states of your interface.
Setting Up Frames and Components
Frames in Figma serve as the canvas for your prototypes. Each frame can represent a different screen or a state in your application.
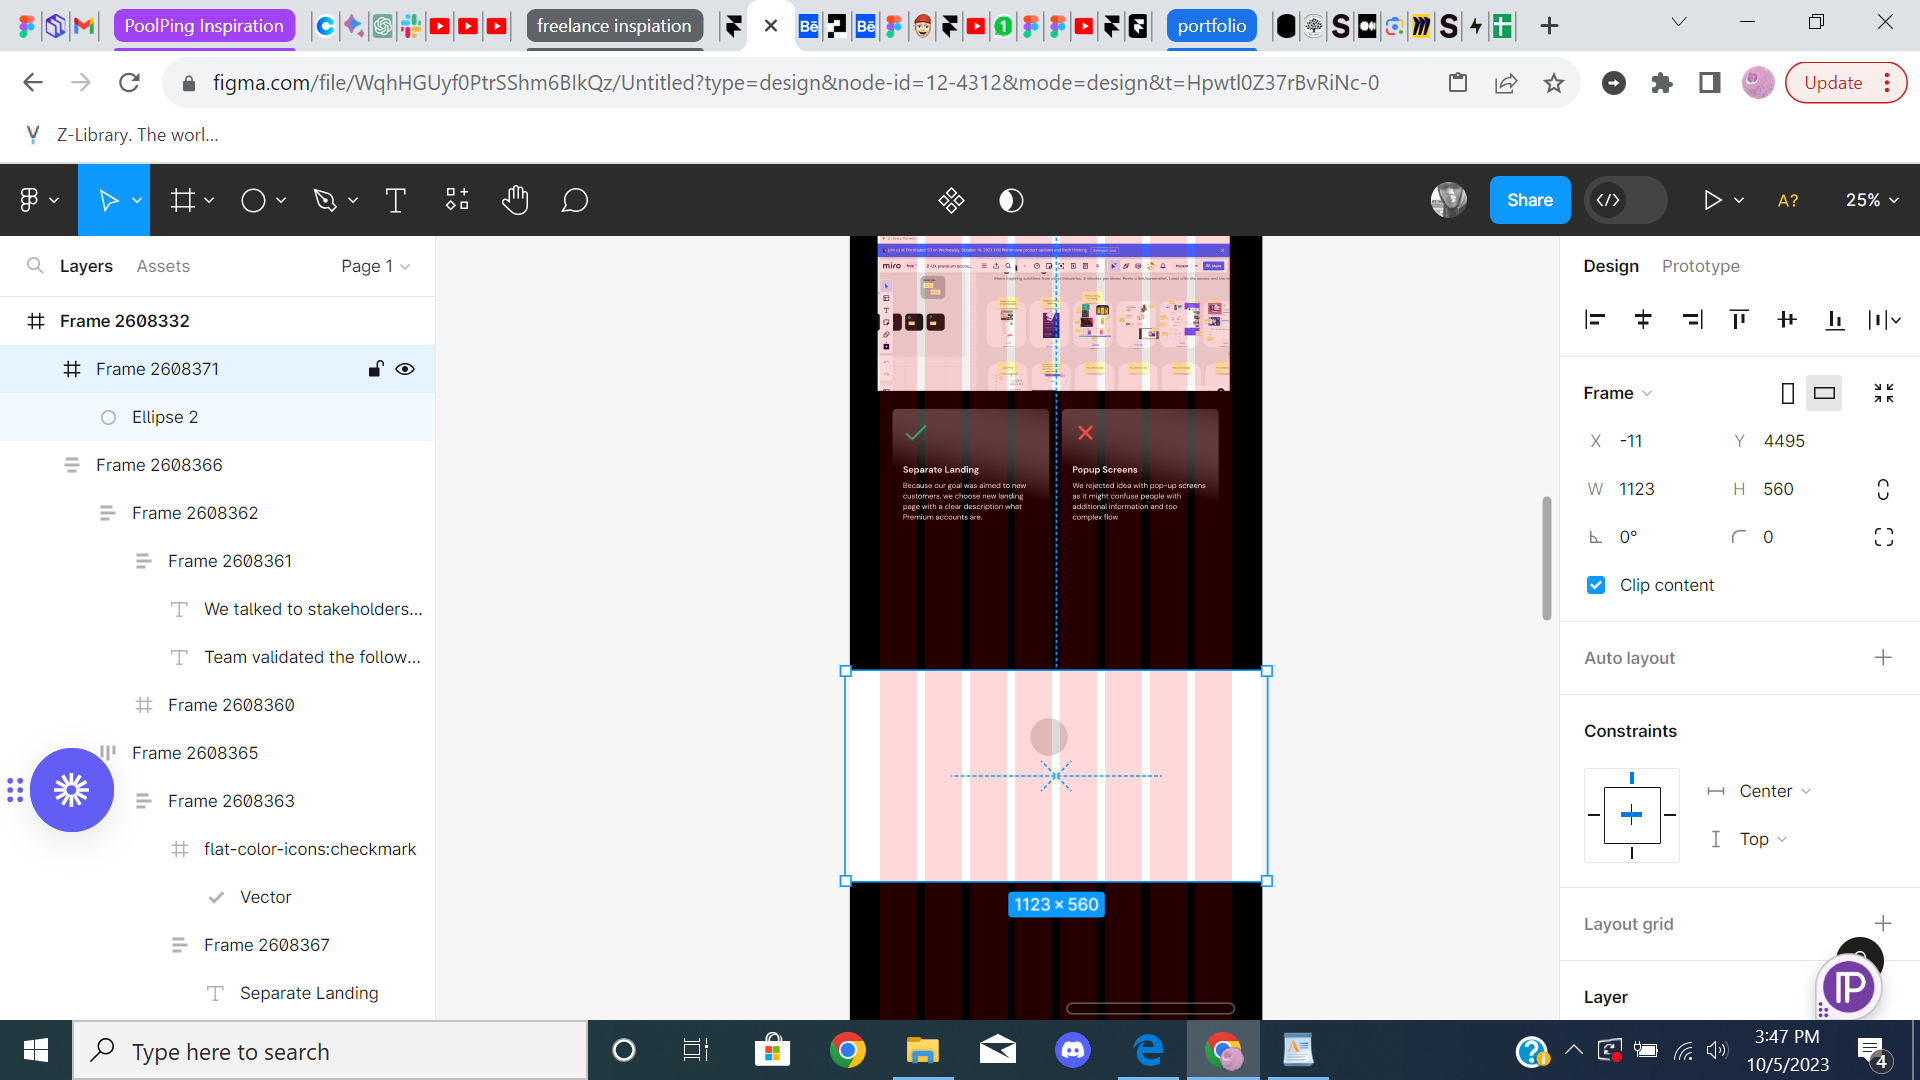
2. Create Frames: Use the Frame tool (press ‘F’ on your keyboard) to create frames for each screen in your prototype. Label them appropriately for easy identification.
3. Design Components: If your design includes reusable elements like buttons, forms, or navigation bars, convert these into components. Select the element, right-click, and choose “Create Component.”
Adding Interactions
Interactions are the core of any prototype. They define how users will move from one screen to another.
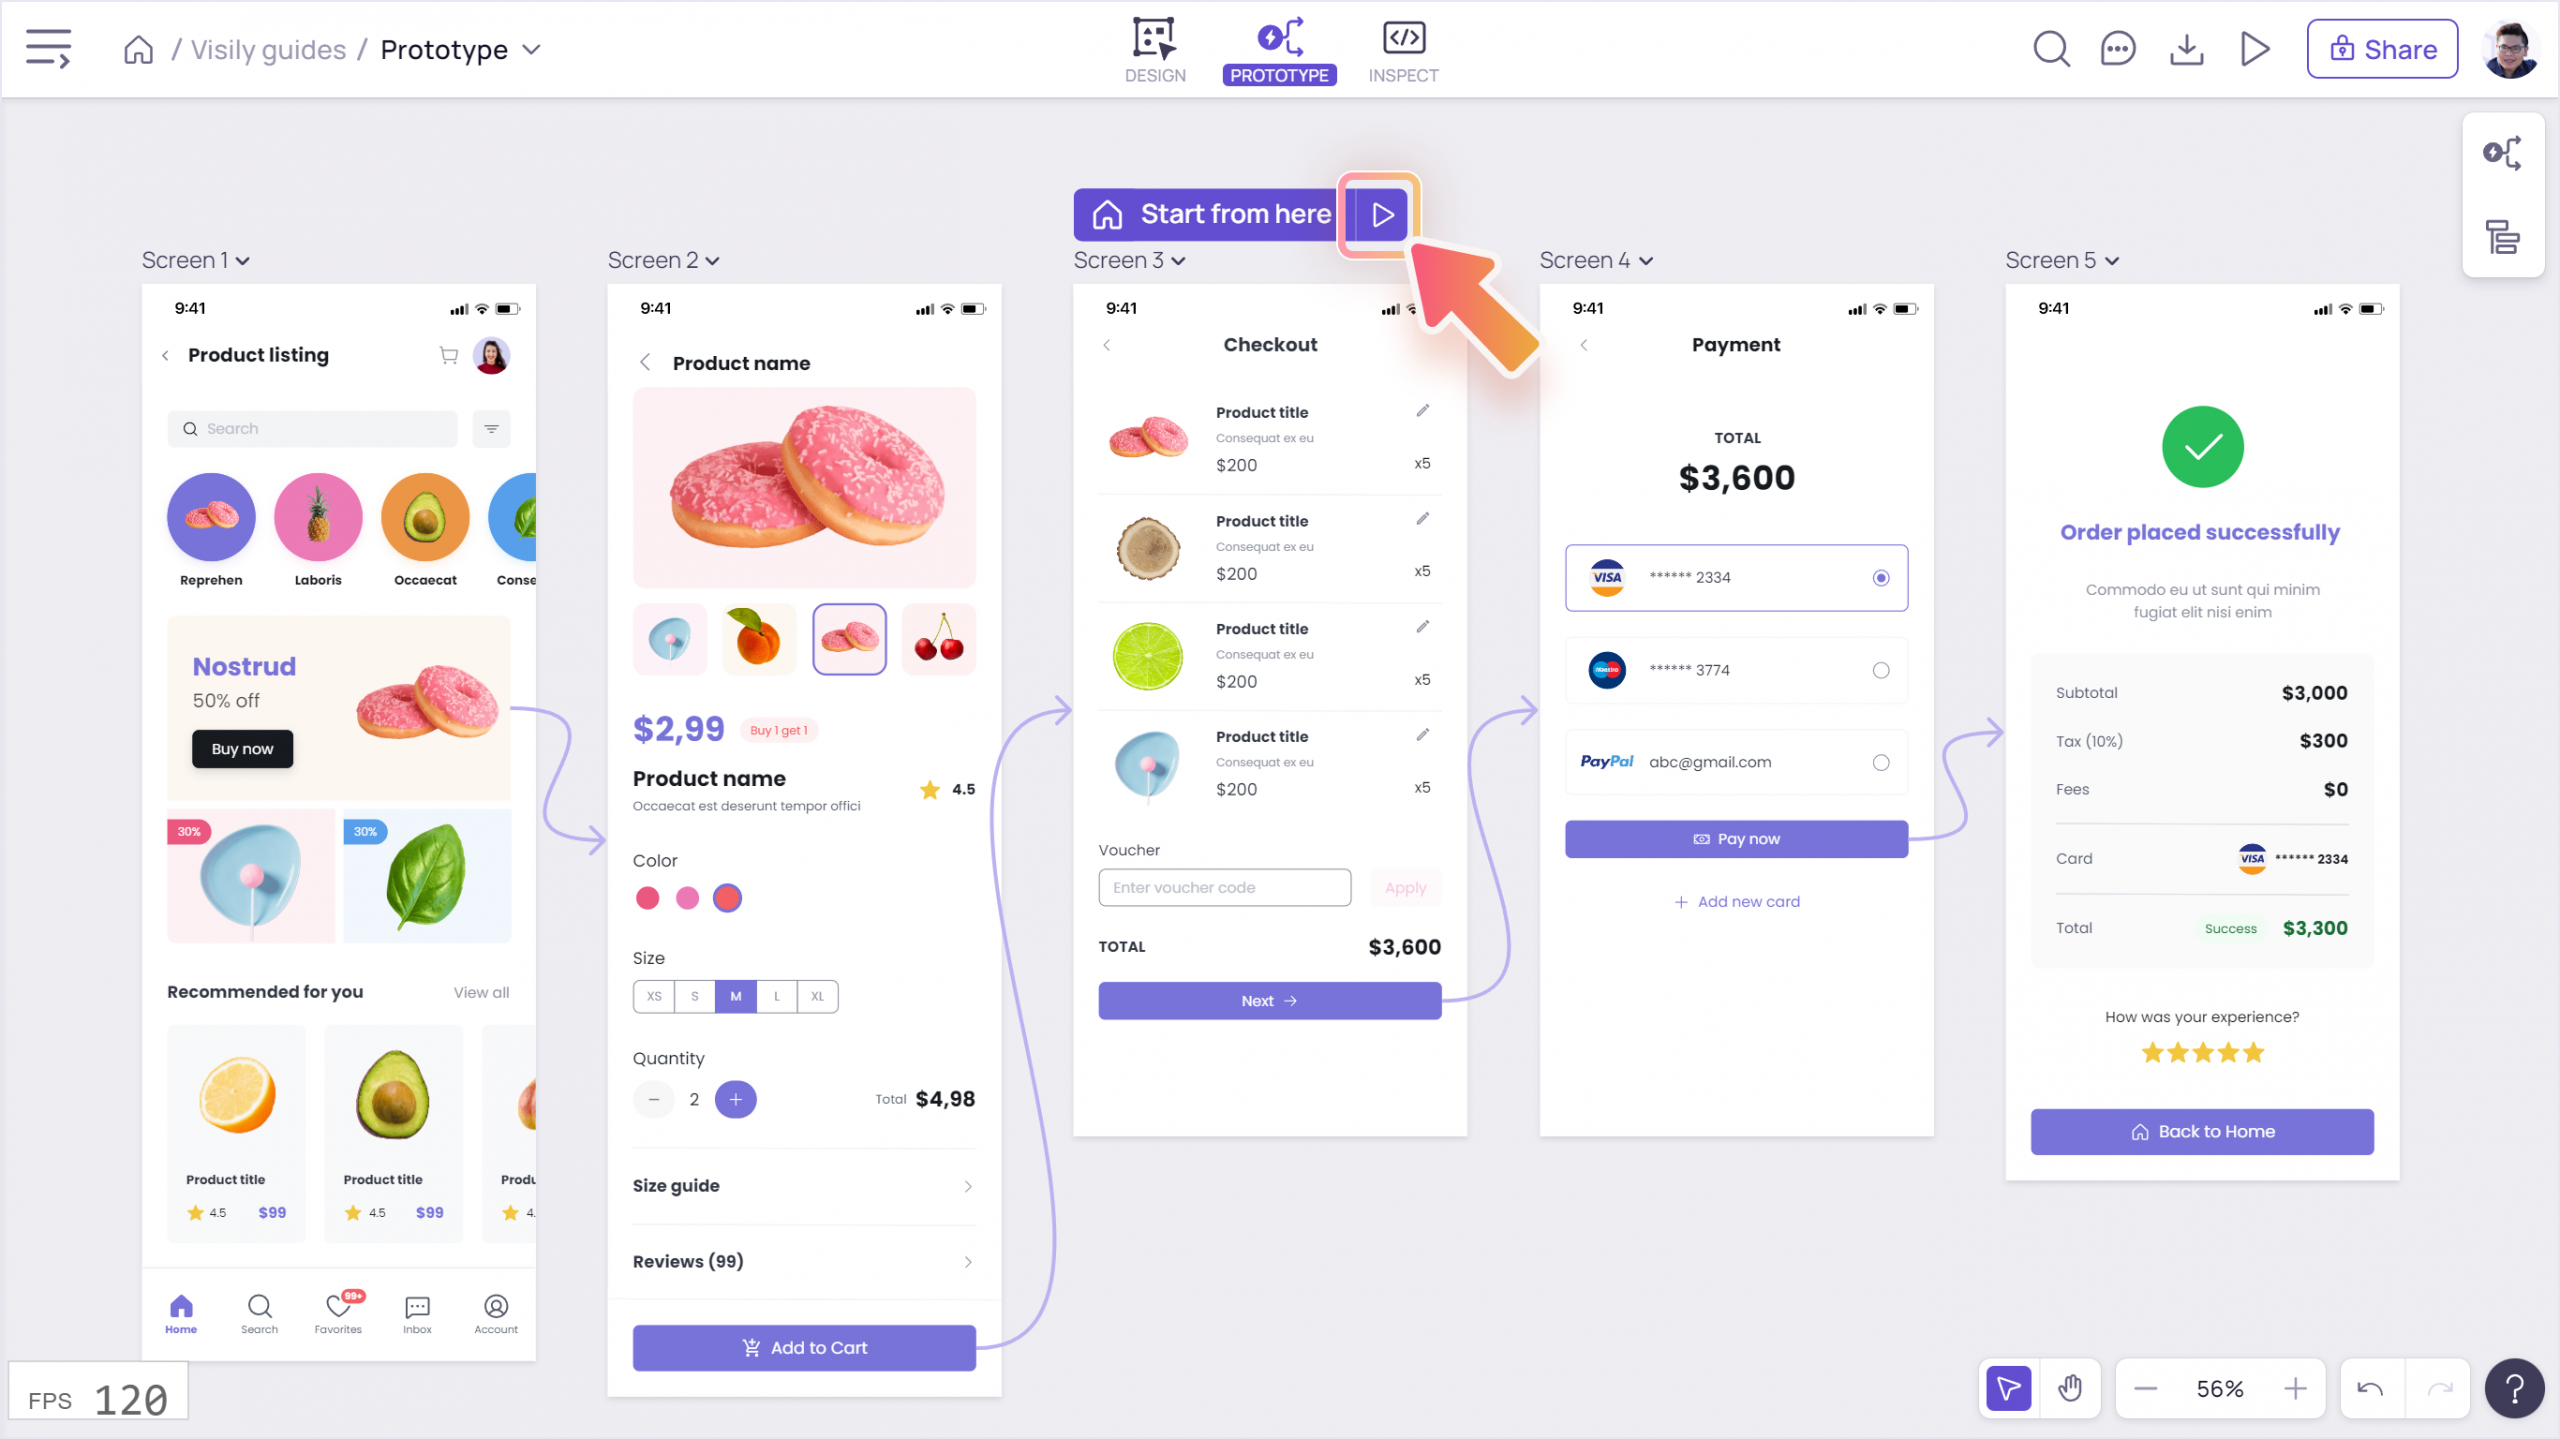
4. Switch to Prototype Mode: Click on the “Prototype” tab in the right-hand panel to enter prototype mode.
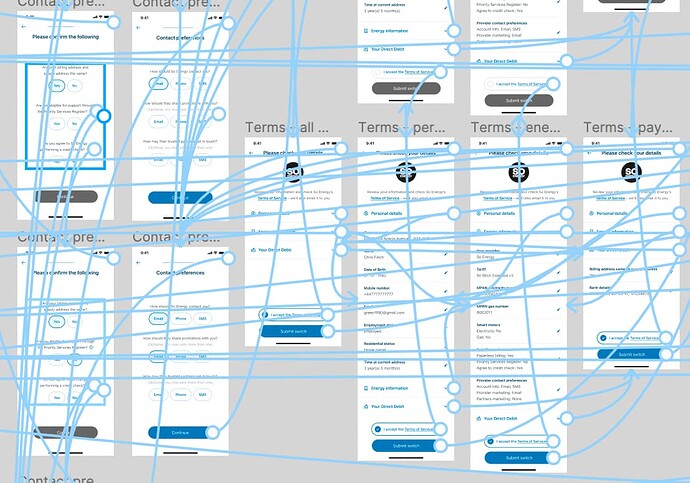
5. Connect Frames: Select an element in your frame (like a button), then click and drag the blue arrow to the target frame. This action sets up a connection between the two frames.

Defining Interaction Details
Once you’ve connected your frames, it’s time to define how these interactions will behave.
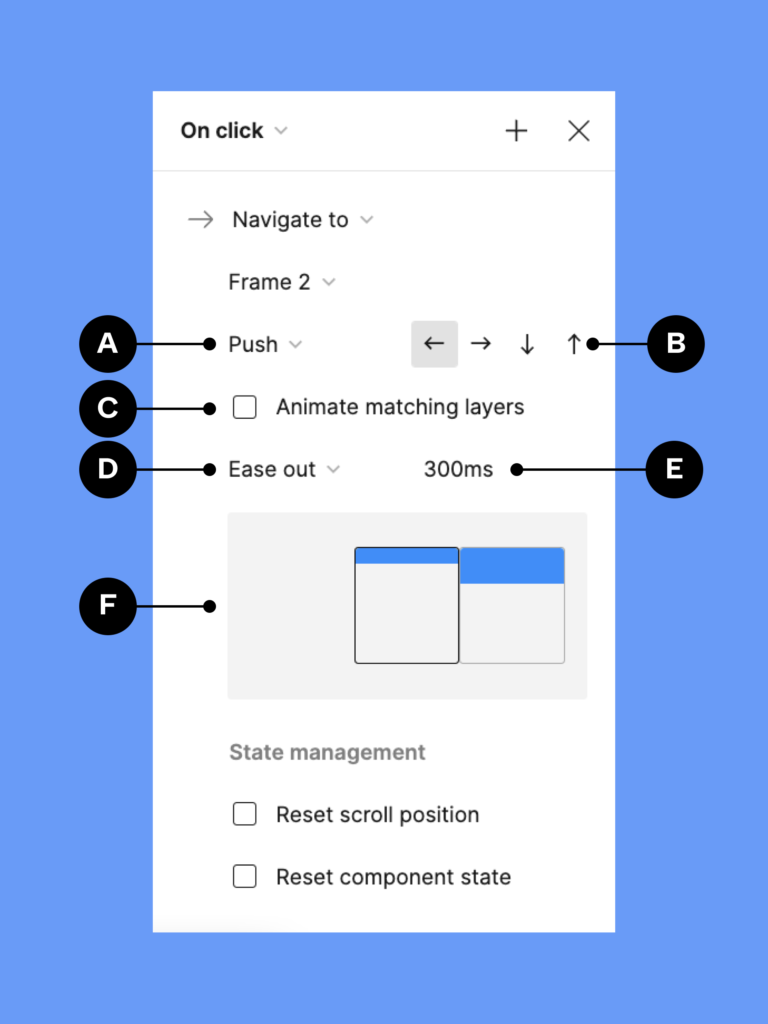
6. Interaction Triggers: In the Prototype tab, choose the trigger for your interaction. Common triggers include “On Click,” “On Hover,” and “On Drag.”
7. Action Types: Select the type of action that will occur. Options include “Navigate To,” “Open Overlay,” “Swap With,” and more. For basic navigation, “Navigate To” is typically used.
8. Animation Settings: Customize the animation for the transition. You can choose from options like “Instant,” “Dissolve,” “Smart Animate,” and “Move In.” Adjust the easing and duration to refine the interaction.
Creating Overlays and Modals
Overlays and modals are common elements in interfaces. Figma makes it easy to create these interactive elements.
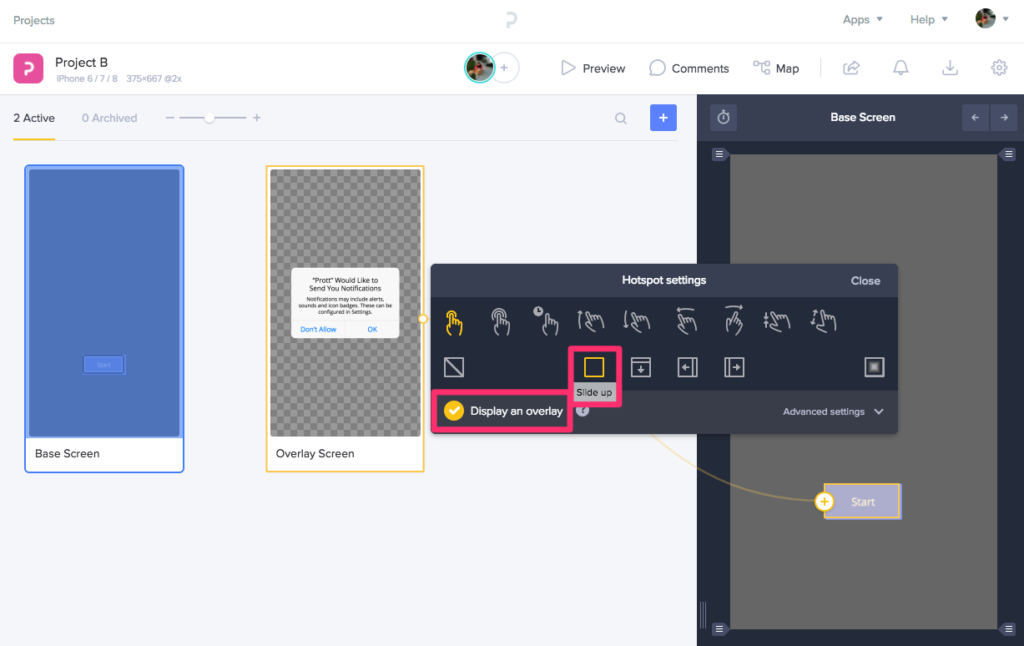
9. Create an Overlay Frame: Design a frame that will act as your overlay or modal. This frame should be separate from your main screens.
10. Set Up Overlay Interaction: Select the element that will trigger the overlay (like a button). Connect it to the overlay frame, and in the Interaction Details, select “Open Overlay.” You can then position the overlay relative to the screen and customize its behavior, such as dimming the background or allowing the user to click outside to close.
Using Interactive Components
Figma’s interactive components feature allows you to add interactivity within a component itself, such as a toggle switch or a dropdown menu.
11. Create Component Variants: Create multiple variants of your component to represent different states (e.g., on/off for a toggle switch). Select your component, click “Add Variant” in the right-hand panel, and design each state.
12. Add Interaction Between Variants: Switch to prototype mode, select your component, and connect the variants by dragging the blue arrow from one variant to another. Define the trigger and action as you did with frames.
Testing Your Prototype
Testing your prototype is crucial to ensure that all interactions work as intended and provide a smooth user experience.
13. Preview Your Prototype: Click the “Present” button in the top-right corner to preview your prototype. This will open a new window where you can interact with your design as if it were a real application.
14. Test Interactions: Navigate through your prototype, testing all the interactions you’ve set up. Check for any inconsistencies or unexpected behaviors.
Sharing Your Prototype
Sharing your prototype with stakeholders or team members allows you to gather feedback and make necessary adjustments.
15. Share the Prototype Link: Click the “Share” button in the top-right corner and select “Copy Link.” Ensure that the sharing settings are appropriate for your audience, allowing them to view or comment as needed.
16. Gather Feedback: Send the prototype link to your stakeholders and ask for feedback. Figma’s commenting feature allows reviewers to leave comments directly on the design, making it easy to track suggestions and issues.
Refining Your Prototype
Based on the feedback received, you may need to make adjustments to your prototype.
17. Iterate on Feedback: Review the comments and suggestions from your stakeholders. Make necessary changes to your design and interactions.
18. Update Prototype: After making changes, update your prototype and test it again to ensure everything works correctly.
Conclusion
Creating interactive prototypes in Figma is a straightforward process that significantly enhances your design workflow. By setting up frames, adding interactions, utilizing overlays, and testing thoroughly, you can create realistic prototypes that provide valuable insights into your design’s functionality and user experience. Remember, prototyping is an iterative process, so be open to feedback and continuously refine your designs for the best results. With these steps, you’ll be well on your way to mastering interactive prototyping in Figma.


Thanks for sharing. I read many of your blog posts, cool, your blog is very good.