Mastering the Pen Tool: Tips and Tricks for Perfect Vector Paths
9jatechbros
- 2
- 71
Adobe Illustrator is a powerful tool for creating vector graphics, and the Pen Tool is one of its most essential features. Mastering the Pen Tool can unlock your potential to create precise, scalable, and intricate designs. In this blog post, we’ll explore the ins and outs of the Pen Tool, from basic concepts to advanced techniques, ensuring you can create perfect vector paths with ease.
Understanding the Pen Tool
What is the Pen Tool?
The Pen Tool is a fundamental tool in Adobe Illustrator used to create paths. These paths are made up of anchor points connected by lines and curves. The Pen Tool allows you to place anchor points and control the curvature and direction of the lines between them, providing unparalleled control over your vector shapes.
Basic Components of the Pen Tool
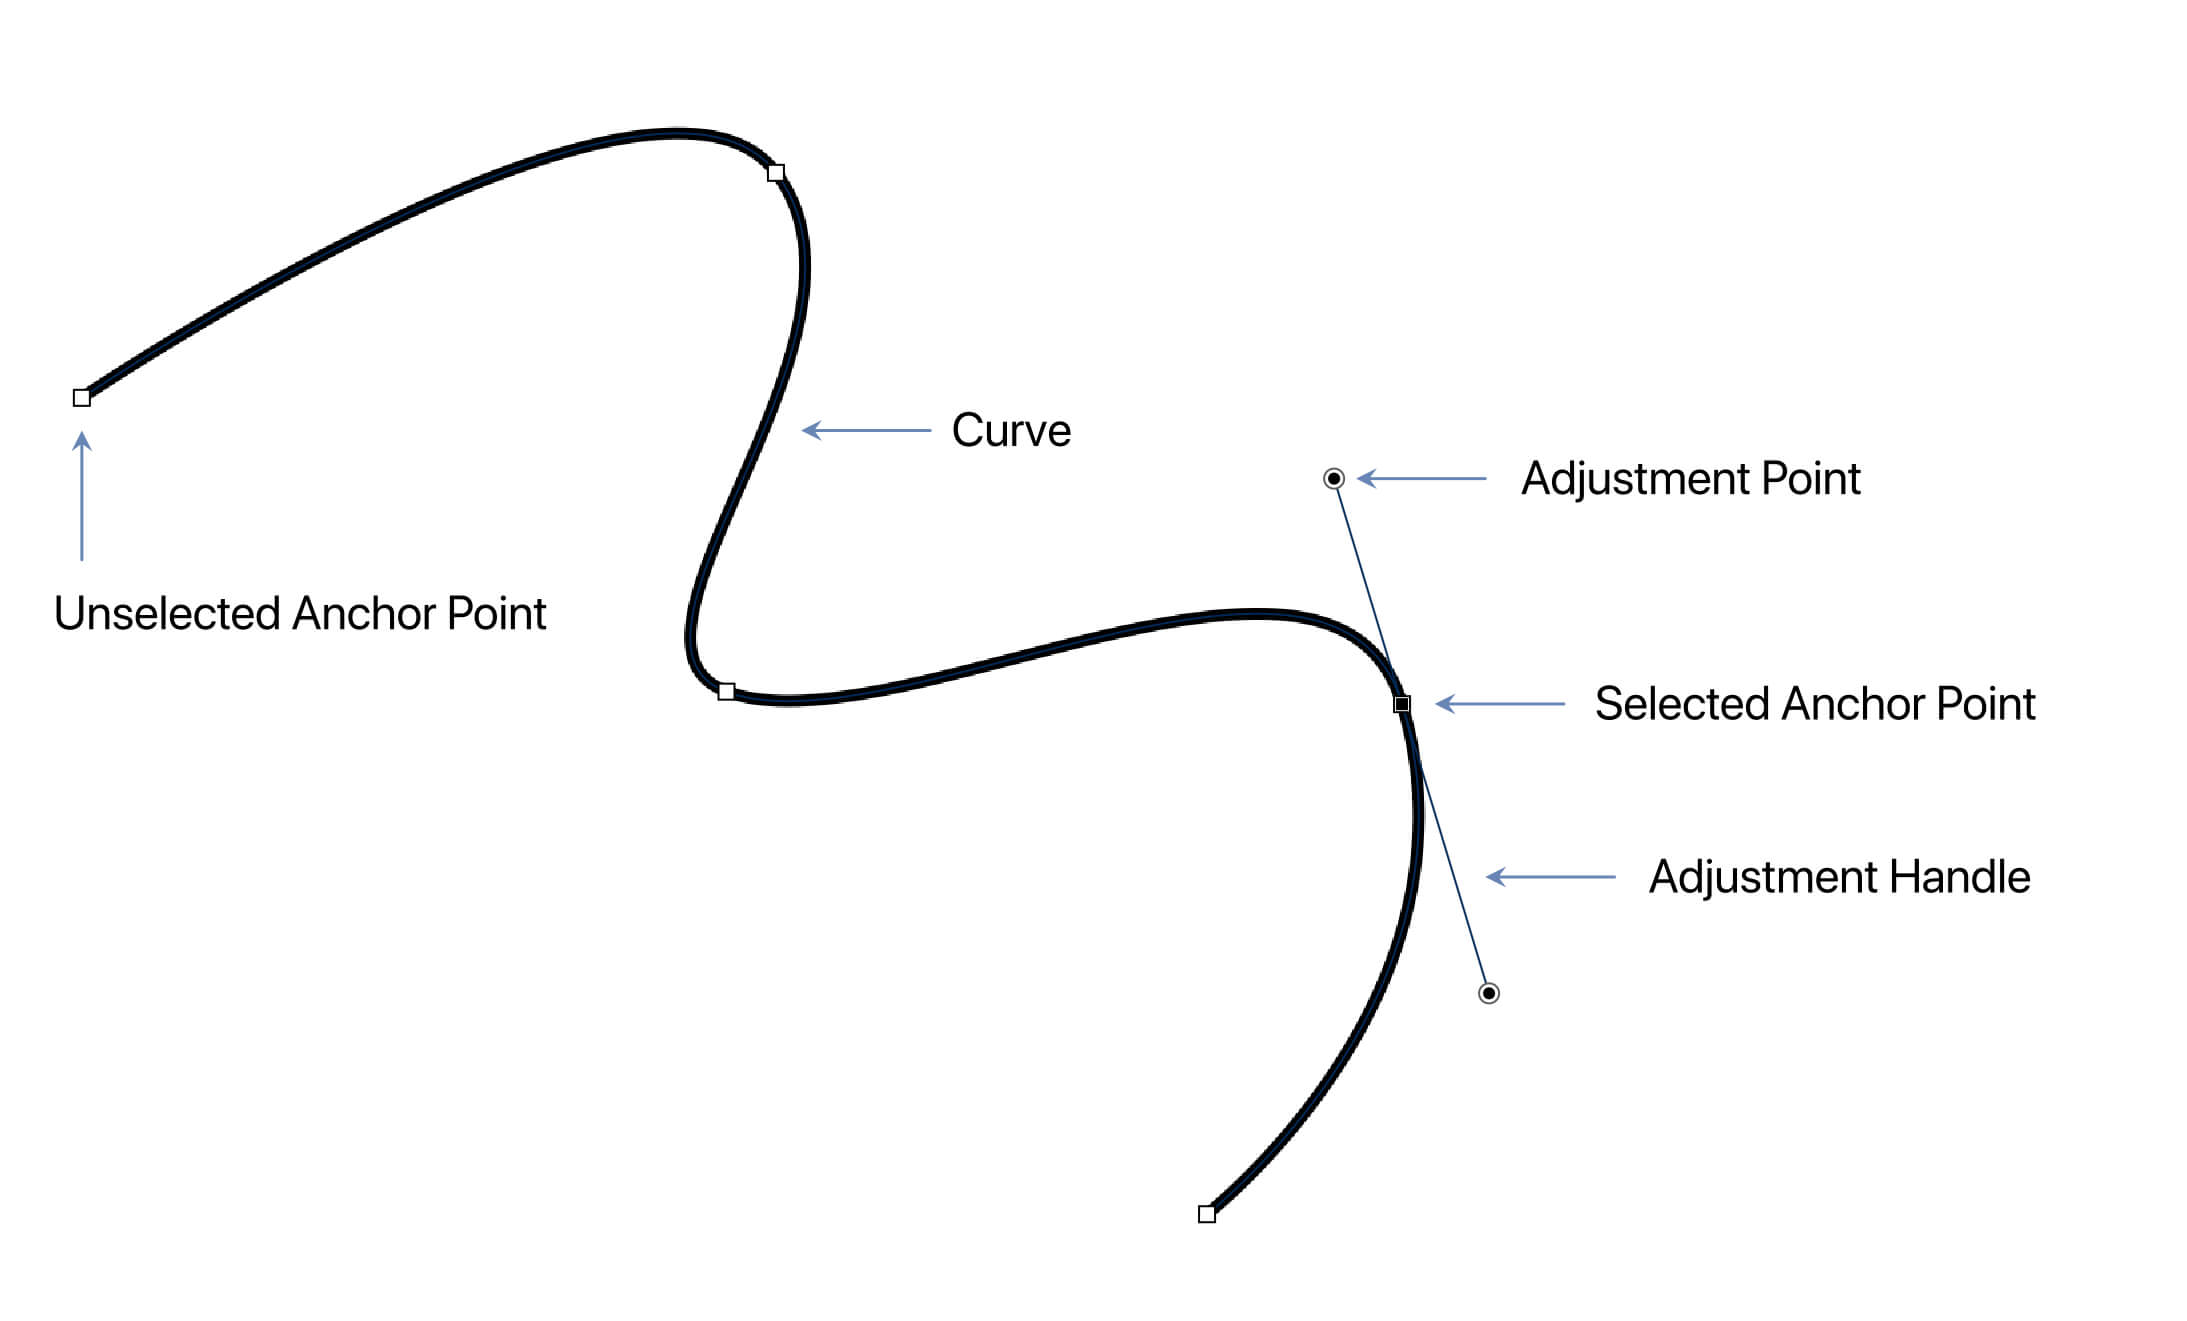
1. Anchor Points: These are the points you click to create a path. Anchor points can be corner points or smooth points.
2. Paths: These are the lines or curves that connect anchor points.
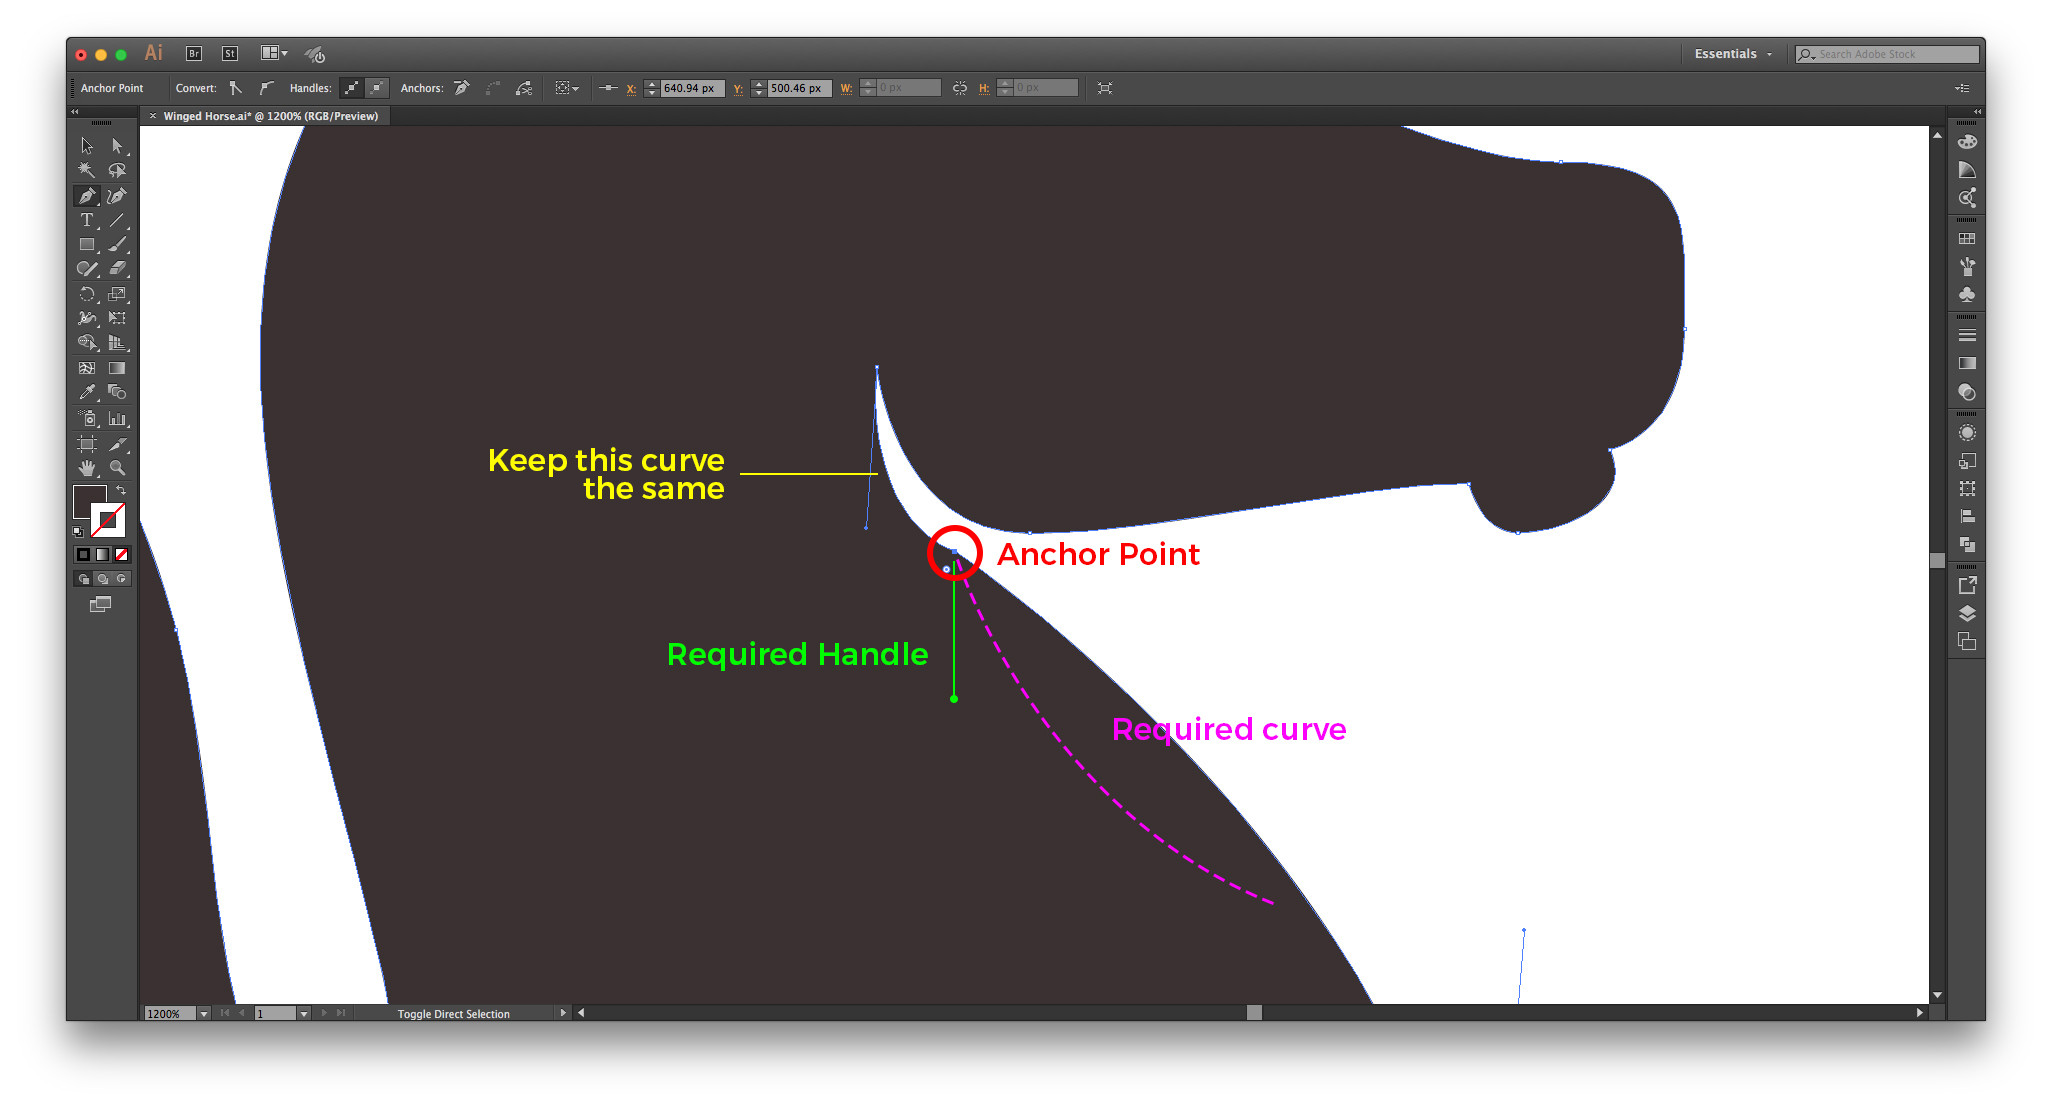
3. Handles: When creating smooth points, you’ll see handles extending from the anchor points. These handles control the direction and curvature of the path.

Getting Started with the Pen Tool
Selecting the Pen Tool
To select the Pen Tool, you can either click on the Pen Tool icon in the toolbar or press the shortcut key ‘P’. Once selected, you’ll notice your cursor changes to a pen icon.
Creating Straight Lines
1. Click to Place Anchor Points: Click on your artboard to place an anchor point. Move to another location and click again to create a straight line between the two points.
2. Continuing the Path: Click elsewhere to add more anchor points and extend the path.
3. Closing the Path: To close a path, click on the initial anchor point.
Creating Curved Lines
1. Click and Drag to Create Curves: Click to place an anchor point, then drag to create direction handles. The length and direction of the handles determine the curvature.
2. Adjusting Curves: Click to place another anchor point and drag again to adjust the curve. The curve will automatically adjust based on the handles.
3. Combining Straight and Curved Lines: To switch between straight and curved lines, simply click for straight lines and click and drag for curves.
Advanced Techniques with the Pen Tool
Converting Anchor Points
Sometimes you need to change a smooth point to a corner point or vice versa. Use the Convert Anchor Point Tool (Shift+C) to click on an anchor point and toggle its type.
1. Corner to Smooth: Click and drag on a corner point to convert it to a smooth point with handles.
2. Smooth to Corner: Click on a smooth point to convert it to a corner point.
Adjusting Handles Independently
By default, handles move together. To adjust them independently, hold down the Alt (Option on Mac) key and drag one handle.
Adding and Removing Anchor Points
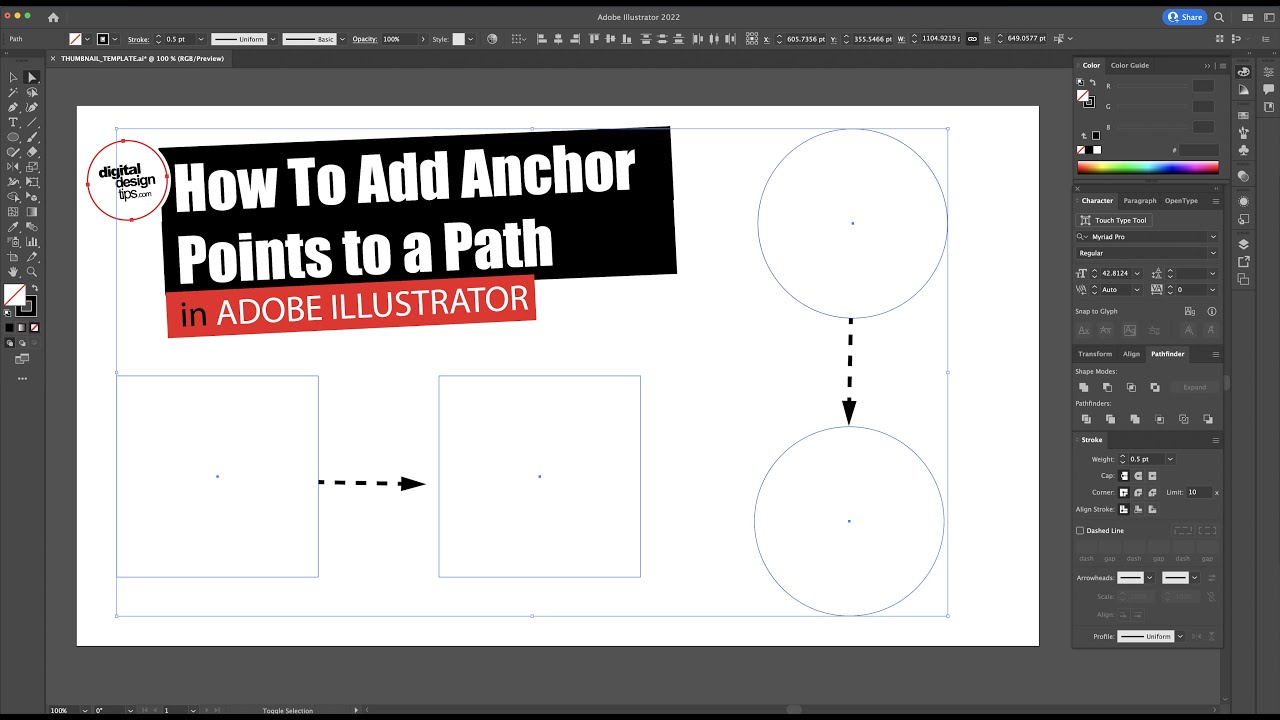
1. Adding Anchor Points: With the Pen Tool selected, click on a path to add an anchor point.
2. Removing Anchor Points: With the Pen Tool selected, click on an existing anchor point to remove it.
Practical Tips for Precision
1. Use Smart Guides: Enable Smart Guides (View > Smart Guides) to snap your paths to existing points and guides.
2. Zoom In for Detail: Don’t hesitate to zoom in (Ctrl++ or Cmd++) when working on detailed areas.
3. Practice Makes Perfect: Spend time practicing different shapes and curves to get a feel for how the Pen Tool behaves.

Common Mistakes and How to Avoid Them
Overusing Anchor Points
A common mistake is using too many anchor points. Fewer points make for smoother and more manageable paths. Use as few points as necessary to achieve the desired shape.
Misaligned Curves
Ensure your curves flow smoothly by aligning handles properly. Handles should generally be aligned in the direction you want the curve to go.
Unclosed Paths
If you intend to create a closed shape, make sure to click on the starting anchor point to close the path. An unclosed path can cause issues in filling shapes with color.
Inconsistent Line Thickness
When creating artwork that will be scaled, ensure your line thicknesses are consistent. Use the stroke settings to manage this effectively.
Exercises to Improve Your Skills
Exercise 1: Creating Basic Shapes
Practice creating basic shapes like squares, triangles, and circles using the Pen Tool. Focus on using the minimum number of anchor points.
Exercise 2: Tracing Complex Shapes

Exercise 3: Designing a Logo
Create a simple logo design using only the Pen Tool. This will help you understand how to combine straight and curved lines to form cohesive designs.
Conclusion
Mastering the Pen Tool in Adobe Illustrator is a journey that requires practice and patience. By understanding the basic components, practicing advanced techniques, and avoiding common mistakes, you can create perfect vector paths with ease. Remember, the key to proficiency is practice. The more you use the Pen Tool, the more intuitive it will become.
Whether you’re designing logos, creating illustrations, or working on complex vector art, the Pen Tool is an indispensable asset in your Adobe Illustrator toolkit. Keep practicing, and soon you’ll be able to tackle any design challenge with confidence.


Your article helped me a lot, is there any more related content? Thanks!
Your article helped me a lot, is there any more related content? Thanks!