Step-by-Step Guide to Installing Windows on Your Computer
9jatechbros
- 1
- 58

A Step-by-Step guide to install windows on you computer:
In this tutorial, we will walk you through the process of installing Windows on your computer. Whether you’re building a new system or upgrading an existing one, this guide will help you install Windows with ease.
Requirements:
– A computer with compatible hardware components
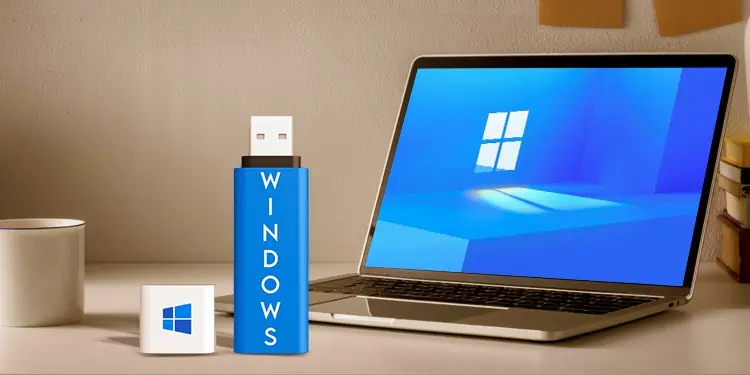
– A Windows installation USB drive or DVD
– Product key for Windows
– Backup of important data (optional but recommended)
Step 1: Prepare Your Computer
Before you begin, make sure your computer meets the minimum system requirements for the version of Windows you want to install. Check for compatibility with your hardware components such as CPU, RAM, and storage.
Step 2: Backup Your Data (Optional)
While installing Windows shouldn’t erase your data, it’s always a good practice to back up your important files to an external drive or cloud storage to avoid any potential loss.
Step 3: Create a Windows Installation Media
If you don’t already have a Windows installation USB drive or DVD, you’ll need to create one. You can download the Windows Media Creation Tool from the official Microsoft website and use it to create a bootable USB drive with the Windows installation files.
Step 4: Boot from the Installation Media
Insert the Windows installation USB drive or DVD into your computer and restart it. Access the BIOS or UEFI settings by pressing the designated key (usually Del, F2, F10, or Esc) during startup. Change the boot order to prioritize the installation media, then save and exit the BIOS settings.
Step 5: Start the Windows Installation Process
Once your computer boots from the installation media, you’ll see the Windows Setup screen. Choose your language, time, currency, and keyboard preferences, then click “Next.” Click “Install Now” to begin the installation process.
Step 6: Enter Your Product Key
Enter your Windows product key when prompted. If you don’t have a product key yet, you can skip this step and enter it later, but you’ll need to activate Windows within a certain timeframe after installation.
Step 7: Select the Installation Type
Choose whether you want to perform an upgrade or custom installation. If you’re installing Windows on a new system or want to perform a clean installation, select “Custom: Install Windows only (advanced).”
Step 8: Partition Your Hard Drive
If you’re performing a custom installation, you’ll need to partition your hard drive. You can create new partitions, format existing ones, or delete partitions as needed. Select the partition where you want to install Windows and click “Next.”
Step 9: Install Windows
The installation process will begin, and your computer will restart multiple times. Follow the on-screen instructions to complete the installation. This may take some time, so be patient.
Step 10: Set Up Windows
Once the installation is complete, you’ll be prompted to personalize your Windows settings. You can choose your PC’s name, create a user account, and customize various settings such as privacy and security options.
Step 11: Install Drivers and Updates
After installing Windows, it’s essential to install drivers for your hardware components such as graphics cards, network adapters, and peripherals. You can download drivers from the manufacturers’ websites or use Windows Update to install them automatically.
Step 12: Activate Windows
Finally, activate Windows using your product key. You can do this by going to Settings > Update & Security > Activation and entering your product key. Once activated, you’ll have access to all the features of Windows.
Conclusion:
Follow these steps carefully, and you’ll have a fully functional Windows system up and running in no time. If you encounter any issues during the installation process, refer to the troubleshooting tips provided by Microsoft or seek assistance from online forums and communities.


Thank you for your sharing. I am worried that I lack creative ideas. It is your article that makes me full of hope. Thank you. But, I have a question, can you help me?